
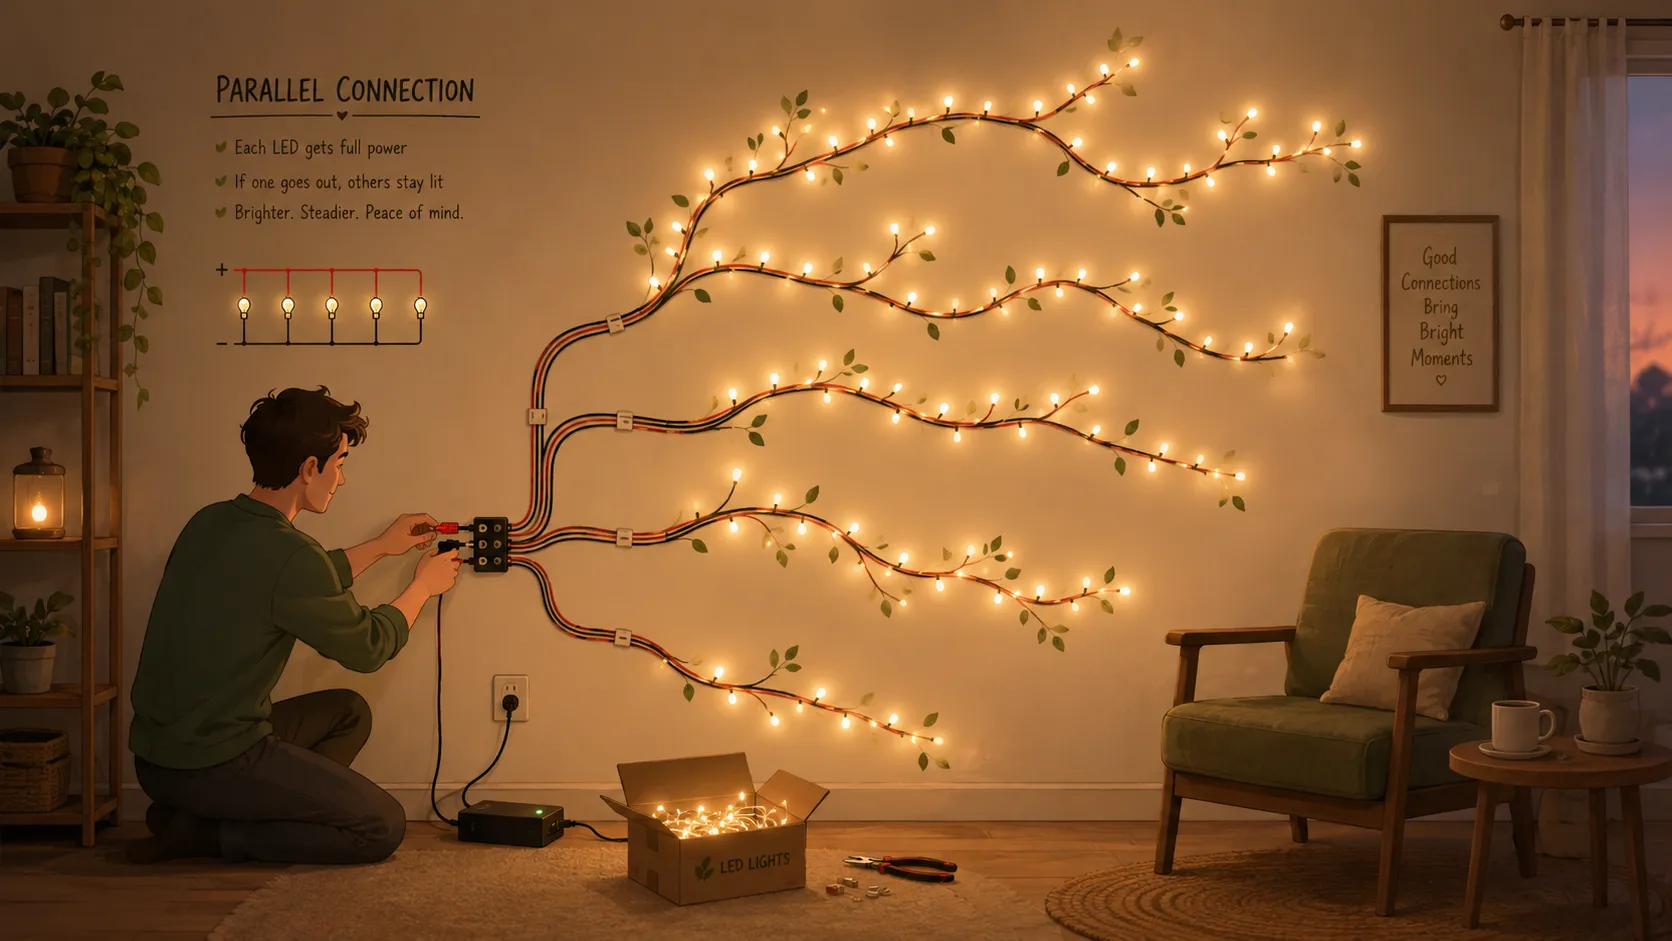
LED lighting has transformed residential, commercial, and automotive lighting systems because it offers exceptional energy efficiency, long lifespan, and remarkable versatility. Yet even the best LED lights can perform poorly if they are wired incorrectly. One of the most important decisions when installing LEDs is choosing between a series circuit and a parallel circuit. This choice directly affects brightness, reliability, power consumption, and future maintenance.
At first glance, wiring LEDs may seem simple. You connect a few wires, attach a power supply, and expect everything to illuminate perfectly. In reality, electrical behavior plays a huge role in how well your lighting system performs. A poorly designed circuit can cause dim lights, flickering, voltage loss, overheating, or complete failure.
Most modern LED strips and LED fixtures are designed to operate using a specific voltage, commonly 12V or 24V. Because of this, installers and manufacturers overwhelmingly recommend parallel wiring for most LED lighting applications. When LEDs receive the voltage they were designed for, they produce consistent brightness and operate efficiently. Understanding the fundamentals of circuit design before starting your installation can save time, money, and frustration later.
What Is a Parallel Circuit?
A parallel circuit connects every LED light directly to the power source’s positive and negative terminals. Each light receives the full supply voltage independently. If one fixture fails, the others continue operating normally because they have their own electrical paths.
What Is a Series Circuit?
A series circuit connects LEDs in a single chain where current flows through one light and then into the next. While series circuits have some specialized uses, they are generally not ideal for most constant-voltage LED systems because voltage is shared across the circuit, potentially causing performance issues.
Why Parallel Wiring Is Preferred for LED Lights
Parallel wiring has become the industry standard for LED installations because it provides stable operation and predictable performance. Most LED strip manufacturers and lighting professionals recommend parallel connections whenever multiple lighting runs are connected to a single power supply. Each branch receives the correct voltage regardless of how many other lights are connected. This design significantly reduces the risk of dimming, flickering, and uneven brightness. Think of a parallel circuit like a highway system with multiple lanes. If one lane closes, traffic can still flow through the others. A series circuit resembles a single-lane road where one blockage stops everyone behind it. The flexibility of parallel wiring makes troubleshooting easier and improves overall system reliability.
Consistent Voltage Distribution
The biggest advantage of parallel wiring is that each LED fixture receives the full rated voltage. For example, in a 12V LED system, every light receives approximately 12V regardless of how many lights are connected. This helps maintain consistent brightness throughout the installation. Manufacturers specifically design most LED strips to operate under these conditions.
Improved Reliability and Fault Tolerance
Reliability is another major reason professionals favor parallel circuits. If one LED strip, connector, or fixture fails, the remaining lights continue operating. In a series circuit, a single open connection can disable the entire chain. This fault tolerance is especially valuable in commercial lighting, outdoor displays, and large residential installations where maintenance access may be difficult.
Understanding the Difference Between Series and Parallel Circuits
Choosing the correct wiring method requires understanding how electricity behaves within each circuit type. The differences affect voltage distribution, current flow, troubleshooting, and brightness consistency.
Voltage and Current Behavior
In a series circuit, the current remains the same throughout the chain, while voltage is divided among the connected LEDs. If the power supply cannot provide sufficient voltage for all connected devices, some lights may become dim or fail to illuminate. In contrast, a parallel circuit supplies the same voltage to every branch while total current demand increases as additional fixtures are added.
| Feature | Series Circuit | Parallel Circuit |
|---|---|---|
| Voltage | Divided among LEDs | Same across all LEDs |
| Current | Same through all LEDs | Split among branches |
| Failure Impact | One failure affects all | Others continue working |
| Brightness Consistency | Can vary | Typically consistent |
| Troubleshooting | More difficult | Easier |
Brightness and Performance Comparison
Brightness consistency is often the deciding factor. In many LED lighting applications, homeowners and businesses expect uniform illumination. Parallel wiring makes this easier because each fixture receives identical voltage conditions. Industry guides consistently identify parallel wiring as the preferred solution for constant-voltage LED strips and fixtures.
Planning the Power Supply and Wire Layout
Before connecting any wires, proper planning is essential. A well-designed layout prevents future electrical issues and ensures the system operates safely.
Calculating Total Power Requirements
Start by determining the wattage of each LED fixture. Suppose you have ten LED lights rated at 10 watts each. The total power requirement would be 100 watts. Most professionals recommend adding at least 20% capacity to the power supply for efficiency and future expansion.
| Number of LEDs | Wattage Per LED | Total Load |
|---|---|---|
| 5 | 10W | 50W |
| 10 | 10W | 100W |
| 15 | 10W | 150W |
Choosing a power supply that exceeds the calculated load helps reduce stress on the system and improves long-term reliability.
Choosing the Correct Wire Gauge
Wire size matters more than many beginners realize. Small wires create resistance, which leads to voltage drop. Thicker wires allow electricity to travel more efficiently, especially across longer distances. Selecting the proper gauge helps maintain brightness and prevents overheating.
Designing an Efficient Layout
An effective layout minimizes wire runs while distributing power evenly. Many installers use a “home-run” configuration where each LED branch returns directly to the power source. This arrangement helps maintain consistent voltage throughout the system and simplifies troubleshooting later.
Step-by-Step Guide to Wiring LED Lights in Parallel
Once planning is complete, the actual installation process becomes much easier. Taking a methodical approach reduces mistakes and improves safety.
Required Tools and Materials
You will typically need:
- LED fixtures or LED strips
- Compatible power supply
- Electrical wire
- Wire connectors
- Wire stripper
- Multimeter
- Electrical tape or heat-shrink tubing
- Mounting hardware
Having all materials prepared beforehand streamlines the installation process and reduces interruptions.
Making the Parallel Connections
Begin by connecting all positive LED terminals to the positive output of the power supply. Next, connect all negative terminals to the negative output. Every LED fixture should have its own direct connection path to the power source. This ensures each light receives full voltage and operates independently. Professional installation guides consistently recommend this method for constant-voltage LED systems.
Securing and Protecting the Wiring
Loose connections are among the most common causes of LED failures. Secure all connections using appropriate connectors, solder joints, or terminal blocks. Protect exposed wiring with insulation and ensure cables are routed away from sharp edges, moisture, and excessive heat.
Connecting Multiple LED Lights Without Voltage Drop
Voltage drop is one of the most common challenges in large LED installations. Even when lights are wired correctly, long wire runs can reduce the voltage reaching distant fixtures.
Causes of Voltage Drop
Voltage drop occurs because electrical current encounters resistance as it travels through wire. Longer distances and thinner conductors increase resistance. The result is reduced voltage at the far end of the circuit, which can cause dimming and color shifts. Industry LED installation resources identify voltage drop as one of the primary causes of inconsistent lighting performance.
Methods to Minimize Voltage Loss
Several strategies can help:
- Use thicker wire for long runs.
- Shorten cable distances whenever possible.
- Add power injection points.
- Use higher-voltage systems such as 24V LEDs when appropriate.
- Distribute loads across multiple power supply outputs.
Power injection has become especially common in long LED strip installations because it restores voltage to distant sections and maintains brightness consistency.
How to Avoid Uneven Brightness Across the Circuit
Nothing ruins an LED installation faster than lights that appear brighter on one side and dimmer on the other. Uneven brightness usually indicates a power distribution issue rather than a defective LED product.
Proper Power Distribution Techniques
The best way to maintain uniform brightness is to provide balanced power to all fixtures. Parallel wiring naturally supports this goal because each branch receives the same voltage source. Installing additional power feeds for long runs can further improve consistency. Professional LED manufacturers specifically recommend parallel configurations to maintain uniform illumination.
Common Mistakes That Cause Brightness Differences
Many brightness problems stem from:
- Undersized power supplies
- Excessively long wire runs
- Thin wiring
- Poor connectors
- Loose terminals
- Inadequate power injection

Marcel Voss is a 35-year-old American blogger from Madison, Wisconsin, specializing in electrical systems, DIY projects, and technical explainers. With extensive experience writing educational web content, he focuses on transforming complex topics into practical guides for everyday readers. Through his work with electricalsystems.xyz, he emphasizes factual research, credibility, and user-friendly writing that supports long-term reader confidence.