
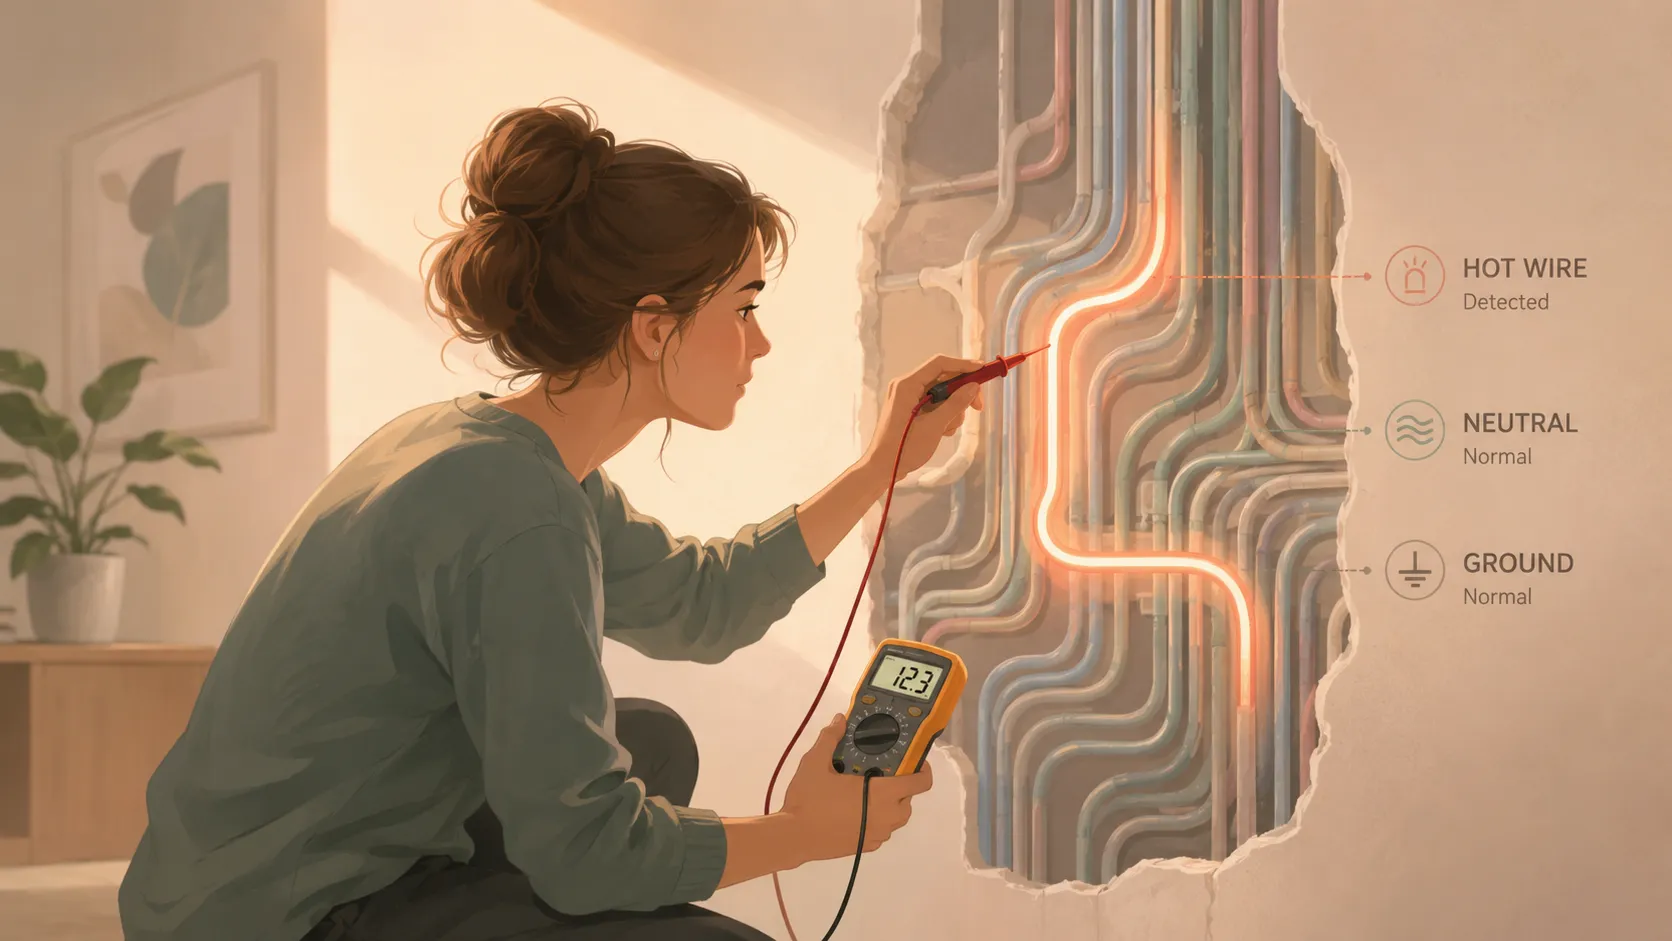
Electricity may seem invisible and mysterious, but every electrical circuit follows a simple set of rules. One of the most important concepts is understanding what electricians call a hot wire. A hot wire is the conductor that carries electrical voltage from the power source to a device or outlet. It is the energized part of the circuit and is the wire most likely to cause an electric shock if touched while energized. Knowing how to identify this wire accurately is essential whether you’re replacing an outlet, installing a light fixture, troubleshooting a circuit, or performing routine electrical maintenance.
Think of an electrical circuit as a highway system. The hot wire is the lane delivering vehicles to their destination. The neutral wire provides the return path, while the ground wire acts like an emergency escape route that protects people and equipment during faults. When these conductors are confused or incorrectly identified, the consequences can range from equipment malfunction to severe injury. Modern electrical safety standards emphasize testing rather than guessing because wire colors alone are not always reliable, especially in older buildings where modifications may have been made over decades.
The safest and most accurate tool for identifying a hot wire is a digital multimeter. Unlike visual inspection, a multimeter measures actual voltage and provides factual evidence about which conductor is energized. This makes it one of the most valuable diagnostic tools available to homeowners, technicians, and electricians alike.
The Role of a Hot Wire in an Electrical Circuit
The hot wire continuously carries electrical potential from the service panel to connected loads. When a device is switched on, current flows through the hot wire, passes through the device, and returns via the neutral conductor. This flow powers everything from lamps and televisions to refrigerators and HVAC systems.
Differences Between Hot, Neutral, and Ground Wires
| Wire Type | Purpose | Typical Voltage |
|---|---|---|
| Hot Wire | Supplies power | Full line voltage |
| Neutral Wire | Returns current to source | Near 0V relative to ground |
| Ground Wire | Safety fault path | Near 0V under normal conditions |
While color coding often helps identify conductors, testing is always the preferred method because wiring practices can vary significantly.
Why Correct Wire Identification Matters
Correctly identifying electrical conductors is about much more than convenience. Every year, electrical accidents occur because individuals assume a wire’s purpose based solely on color or location. A wire that appears neutral may actually be energized due to improper installation, damaged wiring, or previous modifications. This is why professional electricians verify voltage before touching any conductor.
When a hot wire is mistakenly treated as neutral, the risk of electric shock increases dramatically. Equipment can also suffer damage if connections are reversed. Sensitive electronics often rely on proper polarity for safe operation. Improper wiring can create nuisance tripping, unexpected voltage readings, overheating, and even fire hazards. Testing with a multimeter eliminates guesswork and provides confidence that the circuit is being handled correctly.
The importance of accurate identification becomes even greater when dealing with outlets. Reversed hot and neutral conductors can leave devices energized internally even when switched off. This hidden danger is one reason electrical inspections frequently include polarity testing. Industry guidance recommends measuring hot-to-neutral, hot-to-ground, and neutral-to-ground voltages to verify wiring integrity.
Risks of Misidentifying Electrical Conductors
Some of the most common risks include:
- Electric shock
- Arc flash injuries
- Equipment damage
- Tripped breakers
- Electrical fires
- Faulty appliance operation
A few minutes spent testing can prevent expensive repairs and potentially life-threatening accidents.
Tools Needed Before Testing
Before attempting to identify a hot wire, gather the proper equipment. Working without appropriate tools increases both risk and uncertainty. The most important instrument is a quality digital multimeter capable of measuring AC voltage. Many affordable models are suitable for residential electrical testing, provided they are rated for the voltages involved.
In addition to the multimeter, personal protective equipment plays a critical role. Safety glasses help protect against accidental sparks or debris. Insulated gloves add another layer of protection when working around energized conductors. Dry footwear and a non-conductive work surface further reduce electrical hazards. Professional electricians routinely combine proper testing equipment with protective gear because safety depends on multiple layers of protection rather than a single precaution.
Choosing the Right Multimeter
Look for a multimeter with:
- AC voltage measurement capability
- Clear digital display
- CAT-rated safety certification
- Reliable test leads
- Auto-ranging or manual range selection
Additional Safety Equipment
Helpful protective equipment includes:
- Insulated gloves
- Safety glasses
- Non-conductive footwear
- Flashlight
- Lockout/tagout devices when appropriate
What Makes a Wire “Hot” in an Electrical Circuit
A wire becomes hot because it carries electrical potential relative to neutral and ground. Voltage represents the force pushing electrons through a circuit. Whenever a conductor maintains that voltage potential, it is considered energized or “hot.” This voltage exists whether or not a device is currently drawing current.
An easy analogy is water pressure inside a pipe. Even if no faucet is open, the pressure still exists. Similarly, a hot wire may carry voltage even when no appliance is operating. Once a load is connected, current begins flowing. Understanding this distinction helps explain why touching a hot conductor can be dangerous even if a connected device appears inactive.
Many people rely on wire color conventions to identify conductors. In many systems, black and red wires often serve as hot conductors, white indicates neutral, and green or bare copper indicates ground. Yet these conventions are not guarantees. Older wiring, amateur modifications, and regional differences can all produce exceptions. Industry experts consistently recommend testing every conductor before handling it.
Voltage and Current Flow Explained
Voltage is the electrical pressure that drives current through a circuit. Current is the actual flow of electrons. A hot wire maintains voltage potential, making it capable of delivering electrical energy.
Common Wire Color Codes and Their Limitations
Color codes provide useful clues, but they should never replace proper testing. Verification with a multimeter remains the safest approach.
Setting the Multimeter for Safe Voltage Testing
Before making measurements, the multimeter must be configured correctly. Incorrect settings can lead to inaccurate readings and, in some situations, damage the meter itself. Begin by inserting the black probe into the COM terminal and the red probe into the voltage input terminal. Verify that the meter is set to measure AC voltage, since household power is alternating current.
Next, select an appropriate voltage range if your meter requires manual ranging. Choosing a range above the expected voltage ensures the meter can safely display readings without overload. Once configured, inspect the test leads for cracks, exposed conductors, or damage. Faulty leads compromise both safety and measurement accuracy.
Many professionals follow a “test-before-and-after” procedure. They verify the meter works on a known energized circuit, perform the intended measurement, and then verify the meter again. This simple habit helps confirm that neither the instrument nor the test leads failed during the process.
Selecting AC Voltage Mode
Household electrical circuits require AC voltage measurement. Selecting DC mode can produce misleading results.
Connecting Test Leads Correctly
Always place:
- Black lead in COM
- Red lead in V terminal
Verify connections before testing.
How to Find a Hot Wire Using a Multimeter
Finding a hot wire is straightforward when approached methodically. Start by exposing the conductors safely and ensuring adequate lighting. Keep your hands dry and avoid contact with grounded metal surfaces whenever possible. Position the multimeter where the display can be read easily without awkward movement.
Place the black probe on a known ground connection. This may be a grounding conductor, grounded electrical box, or grounded outlet reference point. Touch the red probe to the first conductor being tested. Observe the voltage reading carefully. The conductor displaying full line voltage relative to ground is generally the hot wire. Repeat the process for all conductors to compare results.
Industry guidance indicates that hot-to-ground and hot-to-neutral measurements typically show full supply voltage, while neutral-to-ground measurements remain very low under normal conditions. Consistent measurements across multiple tests provide confidence in conductor identification.
Step 1 – Inspect the Circuit Area
Look for:
- Damaged insulation
- Loose connections
- Moisture
- Burn marks

Marcel Voss is a 35-year-old American blogger from Madison, Wisconsin, specializing in electrical systems, DIY projects, and technical explainers. With extensive experience writing educational web content, he focuses on transforming complex topics into practical guides for everyday readers. Through his work with electricalsystems.xyz, he emphasizes factual research, credibility, and user-friendly writing that supports long-term reader confidence.