
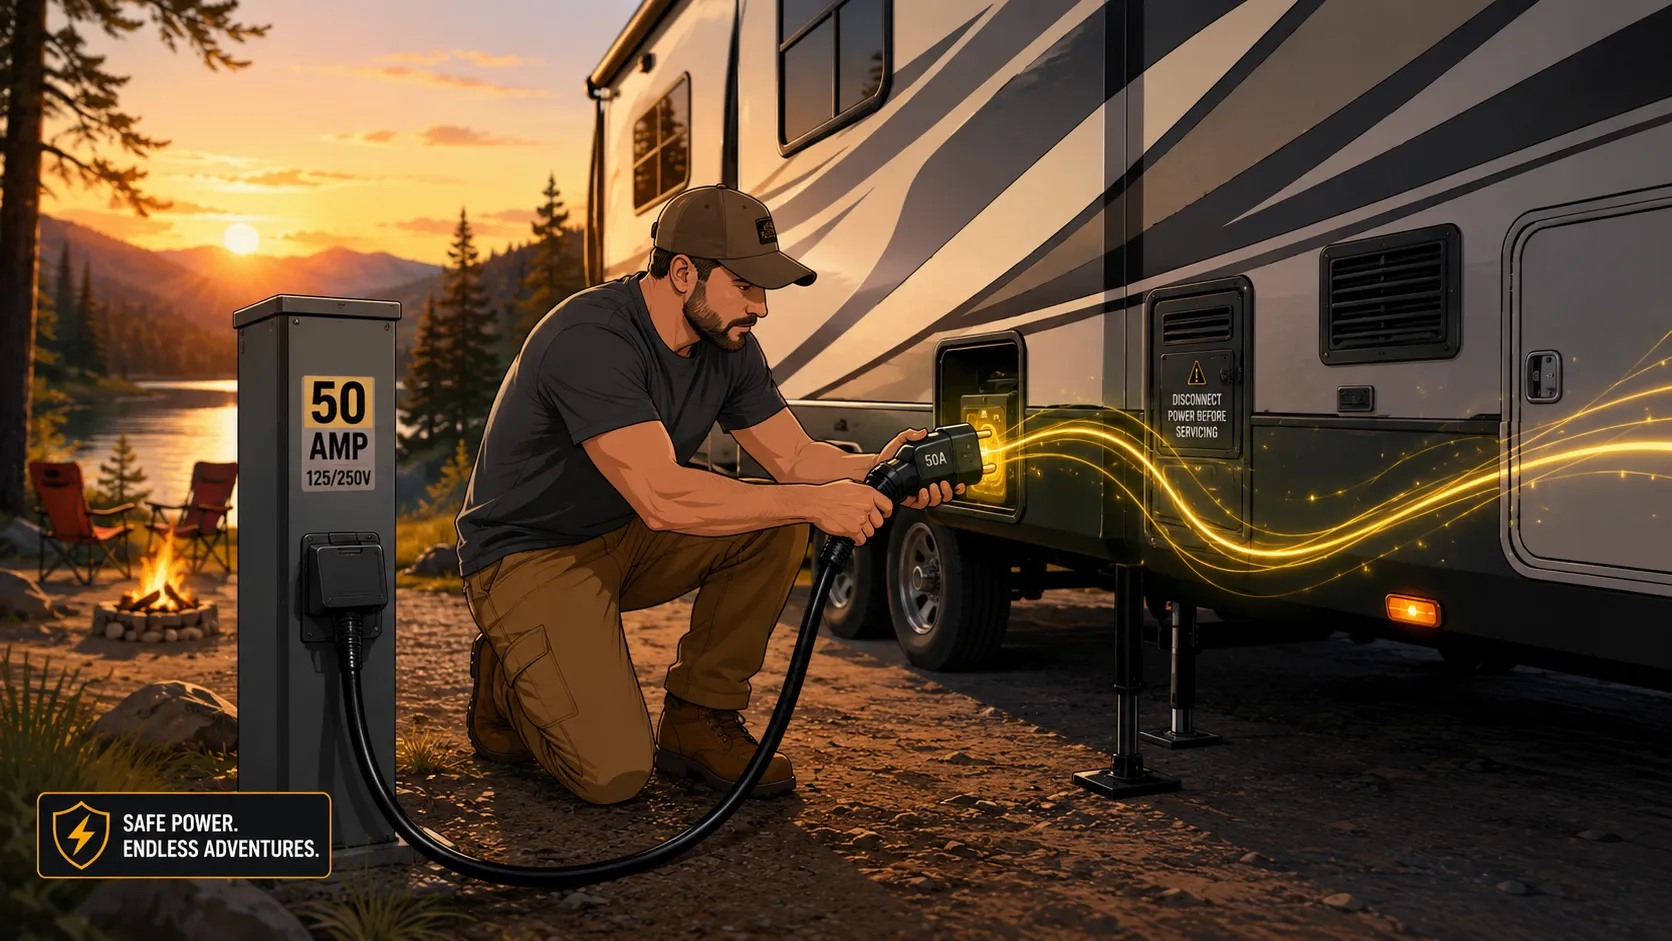
Before wiring a 50 amp RV plug, it is important to understand that this type of electrical connection carries substantial power. A properly wired 50-amp RV system can deliver up to 12,000 watts through two separate 120-volt hot legs, making it capable of running multiple air conditioners, refrigerators, microwaves, and other appliances simultaneously. A standard 50-amp RV connection uses a four-wire NEMA 14-50 configuration consisting of two hot wires, one neutral wire, and one ground wire.
Understanding How a 50 Amp RV Electrical System Works
A 50-amp RV electrical system is often misunderstood because many people assume it simply provides 50 amps of power. In reality, a standard 50-amp RV hookup is built around two separate 120-volt hot legs. Each leg can supply up to 50 amps independently. This means the RV can access significantly more power than a standard household outlet. The system is designed to handle heavy electrical loads without constantly tripping breakers or causing voltage drops.
Think of it like a four-lane highway instead of a two-lane road. A smaller electrical service forces all appliances to share limited capacity, while a 50-amp system creates additional room for power-hungry equipment. Modern RVs often contain residential-style refrigerators, dual air-conditioning units, electric water heaters, and entertainment systems. Without adequate electrical service, running several of these devices simultaneously would be impossible.
Industry-standard 50-amp RV connections typically use the NEMA 14-50 configuration. This setup includes four conductors: two hot wires, one neutral wire, and one equipment grounding conductor. The arrangement allows the RV to distribute electricity efficiently throughout its internal electrical panel while maintaining safe operation. Proper wiring ensures stable voltage and minimizes the risk of damage to sensitive electronics.
Tools and Safety Precautions Before Starting
Working with electrical systems requires preparation. Before touching any wires, gather all necessary tools and verify that power has been disconnected completely. Electrical mistakes can result in equipment damage, severe injury, or even fire. Taking extra precautions may seem time-consuming, but it is far less expensive than repairing a damaged RV electrical system.
Common tools needed for the project include wire strippers, insulated screwdrivers, a utility knife, electrical tape, cable cutters, a torque screwdriver, and a quality digital multimeter. Many electricians also recommend using safety glasses and insulated gloves when handling electrical conductors. A properly calibrated voltage tester should always be used to verify that power is absent before beginning work.
The wiring itself should meet the current requirements of the circuit. Most 50-amp RV installations utilize 6-gauge copper conductors because they can safely handle the electrical load while minimizing voltage drop. Using undersized wire may lead to overheating and insulation failure over time. Before proceeding, inspect all components for damage, corrosion, or manufacturing defects. Even a minor crack in a plug housing can create future safety concerns.
Understanding the Four Wires Inside a 50 Amp RV Plug
The heart of a 50-amp RV plug is its four-wire design. Each wire serves a unique purpose, and confusing them can create serious electrical hazards. Understanding these conductors is essential before making any connections.
Hot Wire One (Black)
The black wire serves as the first hot conductor, commonly called Line 1 or L1. It carries 120 volts from the electrical source to the RV. This wire powers part of the RV’s electrical circuits and is connected to one of the brass terminals inside the plug.
Hot Wire Two (Red)
The red wire is the second hot conductor, known as Line 2 or L2. Like the black wire, it also carries 120 volts. Together, the black and red conductors create a 240-volt potential difference between them. The red wire connects to the second brass terminal within the plug assembly.
Neutral Wire (White)
The white wire is the neutral conductor. Its job is to return current safely to the source and stabilize voltage across the system. It connects to the silver-colored terminal marked “W” on most NEMA 14-50 plugs. The neutral conductor is critical for proper operation and should never be substituted with a ground wire.
Ground Wire (Green or Bare Copper)
The green or bare copper conductor serves as the equipment grounding conductor. Under normal conditions, it carries no current. Its purpose is to provide a safe path for fault current if a wiring failure occurs. The ground wire connects to the green terminal identified by the letter “G.”
Matching Each Wire to the Correct Terminal
Correct terminal identification is one of the most important aspects of wiring a 50-amp RV plug. Most NEMA 14-50 plugs use clearly labeled terminals to simplify installation.
| Wire Color | Function | Terminal |
|---|---|---|
| Black | Hot 1 (L1) | Brass (X) |
| Red | Hot 2 (L2) | Brass (Y) |
| White | Neutral | Silver (W) |
| Green/Bare | Ground | Green (G) |
The two brass terminals are reserved exclusively for the hot conductors. The silver terminal is designated for the neutral wire, while the green terminal accepts the ground wire. Manufacturers may label these terminals using letters such as X, Y, W, and G. Following these markings precisely helps prevent dangerous wiring errors. When connecting wires, ensure that insulation is stripped to the proper length recommended by the plug manufacturer. Excess exposed copper increases the risk of accidental contact, while insufficient exposure can result in weak connections. Tighten each terminal according to the specified torque value to maintain a secure electrical bond.
Step-by-Step Instructions for Wiring a 50 Amp RV Plug
Once all tools are ready and power is disconnected, the actual wiring process becomes relatively straightforward. Start by disassembling the plug housing and sliding the cable clamp onto the cord before making any connections. Many beginners forget this step and must disconnect everything to install the clamp afterward.
Next, carefully strip the outer jacket from the cable. Separate the four conductors and strip the insulation from each wire according to the manufacturer’s specifications. Inspect the copper strands to ensure none have been damaged during stripping. Frayed conductors should be trimmed and re-stripped to maintain proper conductivity.
Connect the black wire to one brass terminal and the red wire to the other brass terminal. Attach the white neutral wire to the silver terminal and secure the green or bare copper ground wire to the green grounding terminal. After tightening all screws, gently tug each conductor to confirm it is firmly seated. Reassemble the plug housing and tighten the strain-relief clamp so that tension applied to the cord does not transfer directly to the terminal connections.
Common Wiring Errors That Cause RV Power Problems
Even experienced DIYers occasionally make mistakes when wiring electrical components. One of the most common issues involves confusing the neutral and ground conductors. Although both are safety-related wires, they perform entirely different functions. Interchanging them can create dangerous conditions and lead to equipment damage. Another frequent problem is loose terminal connections. Electrical current flowing through a loose connection creates resistance, and resistance generates heat. Over time, this heat can melt insulation, damage plug components, and even start electrical fires. Loose connections are among the leading causes of RV shore power failures.
Additional wiring mistakes include:
- Using undersized wire
- Failing to torque terminals correctly
- Connecting both hot wires to the same phase
- Omitting the neutral conductor
- Using damaged connectors
- Ignoring corrosion on terminals

Marcel Voss is a 35-year-old American blogger from Madison, Wisconsin, specializing in electrical systems, DIY projects, and technical explainers. With extensive experience writing educational web content, he focuses on transforming complex topics into practical guides for everyday readers. Through his work with electricalsystems.xyz, he emphasizes factual research, credibility, and user-friendly writing that supports long-term reader confidence.