
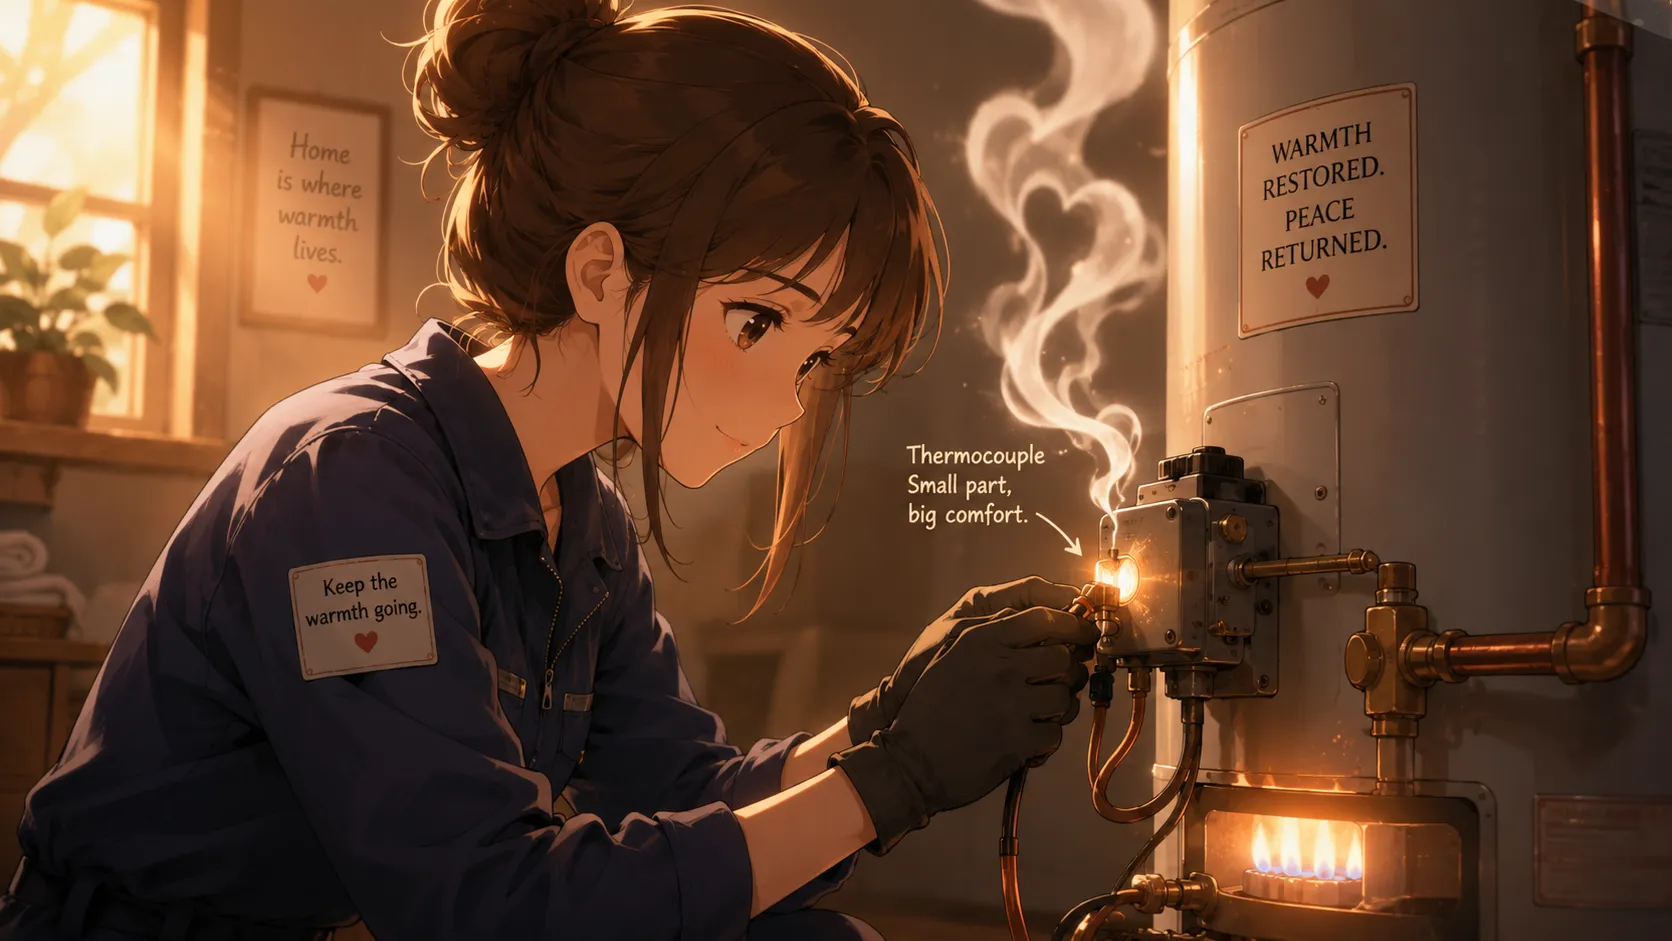
A gas water heater relies on several components working together to provide a consistent supply of hot water. Among these parts, the thermocouple is one of the smallest yet most important. When this device fails, your water heater can suddenly stop producing hot water, leaving you frustrated and searching for answers. Many homeowners immediately assume the entire water heater is failing when, in reality, replacing a simple thermocouple may restore normal operation.
The good news is that thermocouple replacement is often considered one of the more approachable water heater repairs for homeowners with basic DIY skills. Recent water-heater maintenance guides continue to identify a failed thermocouple as one of the most common reasons a pilot light refuses to stay lit. The thermocouple acts as a safety sensor that detects the pilot flame and automatically shuts off gas flow if the flame goes out, preventing dangerous gas accumulation. This comprehensive guide explains exactly what a thermocouple does, how to recognize failure symptoms, how to replace it correctly, and how to determine whether another component may actually be causing the problem.
Understanding the Role of a Thermocouple
What a Thermocouple Does Inside a Water Heater
Think of a thermocouple as the water heater’s security guard. Its entire job is to verify that the pilot flame is burning properly before allowing gas to continue flowing to the burner. The tip of the thermocouple sits directly in the pilot flame. As it heats up, it generates a tiny electrical signal that tells the gas valve everything is functioning normally.
When the pilot flame goes out for any reason, the thermocouple cools rapidly. Once it cools, it stops generating sufficient voltage. The gas valve immediately responds by shutting off the gas supply. This prevents raw gas from leaking into your home, making the thermocouple one of the most important safety devices in any gas-powered water heater. Although the component itself is inexpensive, its role is enormous. Without it, a pilot outage could potentially create a dangerous situation. That is why manufacturers continue to use thermocouples or similar flame-sensing technology in gas appliances around the world.
Why This Small Component Is Critical for Safety
Many homeowners underestimate how critical this tiny metal probe really is. The thermocouple serves as a continuous safety checkpoint every second your water heater operates. It never takes a break and constantly monitors flame conditions.
Imagine driving a car without brakes. That’s similar to operating a gas appliance without a functioning thermocouple. Even though you rarely think about it, the component quietly protects your family every day. Modern water heater troubleshooting guides consistently emphasize that a failed thermocouple should never be bypassed or ignored because its purpose is directly tied to gas safety.
Signs That a Water Heater Thermocouple Has Failed
Pilot Light Won’t Stay Lit
The most common indicator of thermocouple failure is a pilot light that refuses to remain lit. You may successfully ignite the pilot while holding the control knob down, only to watch the flame disappear the moment you release it.
This happens because the thermocouple isn’t producing enough electrical signal to convince the gas valve that a flame exists. As far as the gas valve is concerned, the flame has gone out, so it shuts off fuel immediately. Home improvement experts consistently identify this symptom as the classic warning sign of thermocouple failure. If you’ve attempted to relight the pilot several times with identical results, the thermocouple deserves close inspection.
No Hot Water or Intermittent Heating
Another clue appears when your household suddenly loses hot water. Because the burner cannot ignite without a functioning pilot flame, a failed thermocouple often leads directly to cold showers and inconsistent water temperatures.
Some homeowners experience intermittent operation where the water heater occasionally works before shutting down unexpectedly. This can occur when the thermocouple is weak rather than completely failed. Corrosion, age, soot buildup, and physical damage can all reduce performance before total failure occurs. When hot water availability becomes unpredictable, inspecting the thermocouple should be one of the first troubleshooting steps.
Visible Corrosion, Soot, or Damage
Physical inspection often reveals obvious warning signs. Look for:
| Symptom | Possible Meaning |
|---|---|
| Heavy soot buildup | Poor flame contact |
| Corrosion | Age-related deterioration |
| Bent probe | Improper flame positioning |
| Burn marks | Overheating |
| Loose connections | Weak electrical signal |
Many technicians report that thermocouples with visible corrosion or carbon deposits frequently fail to generate adequate voltage. Even slight misalignment can prevent proper heating of the sensor tip.
Tools and Materials Needed
Essential Tools for the Job
Before beginning the repair, gather all required tools. Having everything nearby makes the process significantly easier and reduces the temptation to rush.
Common tools include:
- Adjustable wrench
- Open-end wrench set
- Screwdriver set
- Flashlight
- Work gloves
- Safety glasses
- Vacuum or soft brush for cleaning debris
Keeping the workspace organized is just as important as having the right tools. A cluttered area increases the risk of damaging delicate components during disassembly.
Choosing the Correct Replacement Thermocouple
Not all thermocouples are identical. While many water heaters use universal models, some manufacturers require specific lengths, fittings, or assemblies. Always verify compatibility using your water heater’s model number before purchasing a replacement. Selecting the wrong part can lead to installation difficulties and recurring pilot-light problems. Spending a few extra minutes confirming compatibility can save hours of frustration later.
Safety Precautions Before Starting the Repair
Turning Off Gas and Power Supplies
Safety comes first whenever you’re working around gas appliances. Begin by turning the gas control valve to the OFF position. If your unit has electrical connections, disconnect power as well.
Allow the burner compartment to cool before proceeding. Working around hot metal surfaces can result in burns and makes handling components much more difficult. Many professional repair guides emphasize shutting off gas completely before disconnecting any burner assembly components. Never assume a gas appliance is safe simply because the burner isn’t operating.
Ventilation and Personal Protection
Proper ventilation is another essential precaution. Open nearby windows or doors whenever possible. Good airflow helps disperse any residual gas that may be present.
Wear safety glasses to protect against dust, rust particles, and debris inside the burner compartment. Gloves provide additional protection from sharp metal edges often found inside access panels and burner assemblies. These simple precautions dramatically reduce the risk of injury during the repair process.
Accessing the Burner Assembly Without Causing Damage
Removing Access Panels Carefully
Most gas water heaters include one or more access panels near the bottom of the tank. Remove these panels gently and place all screws in a secure location.
Many homeowners create problems by forcing panels or bending burner compartment doors. Water heater components are designed to fit precisely. Damage during removal can create alignment issues later when reassembling the unit.
Take photos before disconnecting anything. These reference images become extremely valuable during reinstallation and help ensure every component returns to its original location.
Disconnecting Components Correctly
After exposing the burner assembly, disconnect the gas supply tube, pilot tube, and thermocouple connection from the gas control valve.
Work methodically rather than rushing. The goal is to remove components without kinking tubing or damaging fittings. Once disconnected, the entire burner assembly can typically slide out for easier access. This approach provides much more room to replace the thermocouple accurately and safely.
Removing and Installing the New Thermocouple
How to Remove the Old Thermocouple
With the burner assembly removed, locate where the thermocouple attaches near the pilot assembly. Most designs use a simple retaining clip or bracket.
Carefully release the old thermocouple and note its exact position relative to the pilot flame. This positioning detail is extremely important because the replacement must occupy nearly the same location to function properly.
Inspect surrounding components while the assembly is accessible. Dirt, dust, and carbon deposits can contribute to pilot-light problems and should be cleaned before reassembly.
Proper Installation of the New Thermocouple
Install the replacement thermocouple using the same routing path as the original. Avoid sharp bends or kinks in the metal tubing.
Secure the sensing tip within the pilot assembly and reconnect the threaded fitting to the gas valve. Tighten connections firmly but avoid overtightening. Excessive force can damage fittings and create future maintenance issues.
Once installed, double-check alignment before reinstalling the burner assembly. Precision matters here. Even a new thermocouple can fail to work if incorrectly positioned.
Common Positioning Mistakes That Prevent Proper Heating
Positioning errors are among the most common causes of failed replacement attempts.
Avoid these mistakes:
- Placing the tip outside the pilot flame.
- Positioning the sensor too far from the flame.
- Allowing the flame to touch only the lower section of the probe.
- Bending the thermocouple excessively.
- Installing the burner assembly slightly misaligned.

Keiron Hale is a 27-year-old American writer living in Spokane, Washington. His background in digital publishing and technical blogging allows him to produce informative articles covering residential electrical topics, maintenance tips, and safety practices. As an author for electricalsystems.xyz, he is committed to publishing trustworthy, thoroughly researched content that reflects real-world experience and modern industry standards.