
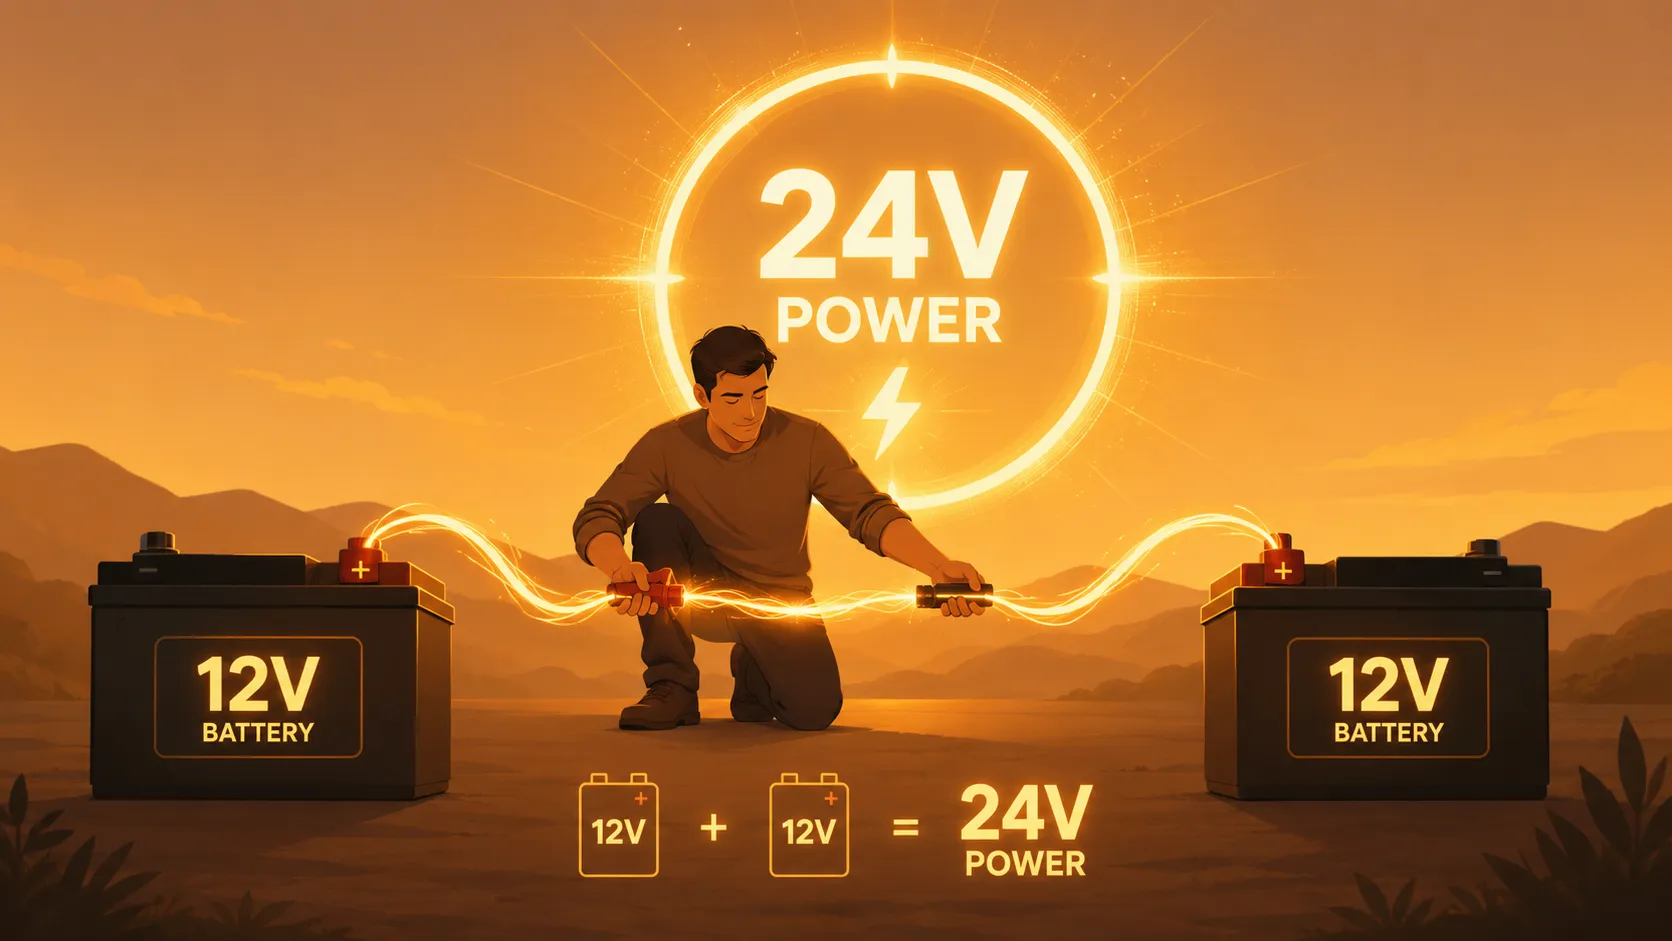
Before building a 24V battery system, it’s important to understand one simple principle: two 12V batteries connected in series create a 24V battery bank while maintaining the same amp-hour capacity. This wiring method is widely used in golf carts, solar energy systems, RVs, marine applications, industrial equipment, and backup power systems. Recent battery industry guidance continues to emphasize that batteries connected in series should be of the same voltage, capacity, age, and chemistry to ensure proper performance and longevity.
Understanding the Basics of Battery Voltage
What Voltage Means in a Battery System
If you’ve ever looked at a battery label and seen “12V,” you’re looking at the battery’s voltage rating. Voltage can be thought of as electrical pressure. Imagine water flowing through a pipe. The higher the pressure pushing the water, the stronger the flow. Electricity behaves in a similar way. Voltage provides the force that pushes electrical current through a circuit and powers your devices.
Most common automotive, RV, and deep-cycle batteries are rated at 12 volts. For everyday applications, this is perfectly adequate. However, many larger systems require more voltage to operate efficiently. Electric trolling motors, solar inverters, industrial machinery, and certain backup power systems often rely on 24V configurations because higher voltage allows equipment to deliver the same power while drawing less current. Lower current can mean reduced heat, improved efficiency, and potentially smaller wire requirements.
Understanding voltage is the foundation of building a battery bank. Once you understand that voltages can be added together under the right wiring arrangement, creating a 24V system becomes straightforward. The key lies in choosing the correct connection method and ensuring that every component in the system is designed to handle the resulting voltage.
Why Many Applications Require 24V Power
The demand for 24V systems continues to grow because higher-voltage systems often operate more efficiently than lower-voltage alternatives. In a 24V system, equipment can deliver the same amount of power while drawing fewer amps. This reduces electrical losses and can improve overall system performance. Think of it like transporting cargo. You can move the same amount of material either by making many small trips or by using a larger vehicle and making fewer trips. A higher-voltage system is often the larger vehicle. It moves energy more efficiently across the system.
Solar installations commonly use 24V battery banks because they work well with larger inverters and charge controllers. Marine systems use 24V for powerful trolling motors. Industrial applications often prefer 24V because it supports longer cable runs and higher-power equipment. Once you understand why higher voltage is beneficial, the motivation for converting two 12V batteries into a 24V bank becomes much clearer.
Why Connecting Batteries in Series Increases Voltage
The Science Behind Series Connections
A series connection works by linking the positive terminal of one battery to the negative terminal of another battery. This arrangement causes the voltages of the batteries to add together. The electrical potential from each battery combines into a larger total voltage while the amp-hour capacity remains unchanged. 12V+12V=24VThis concept isn’t limited to batteries. Flashlights have used series-connected batteries for decades. Two 1.5V cells produce 3V. Four cells produce 6V. The exact same principle applies when connecting larger 12V batteries.
Many people assume that combining batteries automatically doubles everything. That’s not true. Series wiring specifically increases voltage. Capacity remains the same as a single battery. Understanding this distinction prevents confusion when designing a battery bank and helps ensure realistic expectations about runtime and performance.
How Two 12V Batteries Become 24V
When Battery A provides 12 volts and Battery B provides another 12 volts, wiring them in series stacks their electrical potential. The system now delivers 24 volts across the remaining open terminals. Industry guidance consistently describes series wiring as connecting one battery’s positive terminal to the next battery’s negative terminal while using the remaining terminals as the system output. For example:
| Configuration | Voltage | Capacity |
|---|---|---|
| One 12V 100Ah Battery | 12V | 100Ah |
| Two 12V 100Ah Batteries in Series | 24V | 100Ah |
| Two 12V 100Ah Batteries in Parallel | 12V | 200Ah |
This table demonstrates why choosing the correct wiring method matters so much.
Understanding the Difference Between Series and Parallel Wiring
Series Wiring Explained
Series wiring is used when your goal is to increase voltage. The connection pattern is simple: positive terminal to negative terminal. Every battery adds its voltage to the total system voltage. Capacity, measured in amp-hours, remains unchanged. This method is ideal for applications that specifically require 24V operation. It allows users to create higher-voltage battery banks without purchasing specialized batteries. Instead of buying a single 24V battery, two matching 12V batteries can be combined to achieve the same result.
Series wiring is common in solar systems, electric vehicles, golf carts, marine equipment, and industrial backup power installations. The widespread adoption of series configurations demonstrates how effective and practical this approach has become.
Parallel Wiring Explained
Parallel wiring follows a completely different philosophy. Instead of increasing voltage, it increases capacity. Positive terminals connect together, and negative terminals connect together. The voltage remains unchanged while amp-hour capacity grows. Imagine two identical fuel tanks feeding the same engine. The engine still receives the same fuel pressure, but there’s more fuel available overall. That’s essentially what parallel wiring accomplishes.
Users who need longer runtime rather than higher voltage typically choose parallel configurations. RV house batteries, backup power banks, and portable energy storage systems frequently rely on parallel wiring to maximize operating time between charges.
Quick Comparison Table
| Feature | Series Wiring | Parallel Wiring |
|---|---|---|
| Voltage | Increases | Stays the Same |
| Capacity (Ah) | Stays the Same | Increases |
| Positive Connection | To Negative | To Positive |
| Typical Goal | Higher Voltage | Longer Runtime |
| Example | 24V 100Ah | 12V 200Ah |
Matching Battery Type and Capacity Matters
Why Battery Matching Is Critical
Battery experts consistently recommend using batteries with identical voltage ratings, capacities, chemistry, and preferably similar age and manufacturing history when creating a series battery bank. Why does this matter so much? Batteries behave as a team when connected in series. If one member of the team is weaker, the entire group suffers. A smaller-capacity battery can become overworked, discharge faster, and reduce overall performance.
Think of two cyclists riding a tandem bicycle. If one rider is significantly weaker, the bike can only travel as fast as the slower rider allows. Batteries behave similarly when connected together.
Risks of Mixing Different Batteries
Mixing battery types often creates problems that are expensive and frustrating. Different capacities may charge and discharge at different rates. Different ages can lead to uneven wear. Different chemistries may require different charging profiles. Potential issues include:
- Reduced battery lifespan
- Uneven charging
- Capacity loss
- Overheating
- Performance instability
Investing in two matching batteries from the start is almost always cheaper than troubleshooting a mismatched system later.
Step-by-Step Battery Connection Process
Tools and Materials Required
Before beginning, gather all necessary materials. Preparation reduces mistakes and improves safety. You’ll typically need:
- Two matching 12V batteries
- Battery jumper cable
- Wrenches or socket set
- Safety glasses
- Insulated gloves
- Digital multimeter
Having everything ready before you start prevents unnecessary interruptions and helps maintain focus throughout the installation process.
Connecting the Batteries Safely
Follow these steps carefully:
- Turn off all loads and chargers.
- Place the batteries close together.
- Verify both batteries are 12V.
- Connect Battery 1 positive terminal to Battery 2 negative terminal.
- Leave the remaining positive terminal open.
- Leave the remaining negative terminal open.
- These remaining terminals become your 24V output points.
The process is surprisingly simple, but attention to detail matters. One incorrect cable placement can create a short circuit or produce an unintended voltage.
Cable Placement and Polarity Safety Tips
Identifying Positive and Negative Terminals
Battery terminals are usually clearly marked with “+” and “-” symbols. Positive terminals may also be color-coded red, while negative terminals are commonly black. Never assume colors alone are correct. Always verify markings directly on the battery.
Before tightening any connection, double-check terminal identification. Experienced technicians often verify polarity multiple times because a few seconds of confirmation can prevent costly mistakes.
Polarity mistakes are among the most common causes of battery system failures. Careful terminal identification dramatically reduces risk and improves installation success.
Preventing Short Circuits
Short circuits occur when positive and negative terminals become connected unintentionally. This can release tremendous amounts of current in a very short time. Industry guidance warns against crossing open positive and negative terminals because doing so can cause damage or injury. Safety practices include:
- Remove jewelry before working.
- Use insulated tools.
- Keep metal objects away from terminals.
- Install fuses when appropriate.
- Work in a ventilated area.
Treat batteries with respect. Even relatively small battery banks can deliver dangerous levels of current.
Common Wiring Errors That Cause Problems
Incorrect Terminal Connections
The most frequent mistake is accidentally wiring batteries in parallel instead of series. Users connect positive-to-positive and negative-to-negative, expecting 24V, but end up with only 12V and increased capacity. Another common error involves reversing polarity. Reversed connections can damage equipment instantly. Sensitive electronics may fail before protective devices have time to react.
Carefully tracing each cable before applying power helps eliminate these issues. A simple visual inspection can save hours of troubleshooting later.
Using Mismatched Batteries
Even when the wiring is correct, mismatched batteries often create operational problems. Different capacities, ages, or chemistries can cause charging imbalances and shortened service life. Many users attempt to save money by pairing an old battery with a new one. Unfortunately, this often leads to premature failure of the new battery. Matching batteries from the start remains one of the best investments in long-term reliability.
Testing the Final 24V Output
Using a Multimeter
Testing is the final confirmation that everything has been wired correctly. A digital multimeter provides the easiest and most reliable verification method.
Set the meter to DC voltage. Place the red probe on the system’s positive output terminal and the black probe on the system’s negative output terminal. A fully charged pair of 12V batteries connected in series should measure approximately 24V, often slightly higher depending on battery state of charge. If the reading is around 12V, the batteries are likely wired in parallel. If the reading is negative, the meter probes are reversed or polarity has been incorrectly connected.
Testing before connecting equipment prevents damage and confirms the installation is ready for service.
Charging and Maintaining a 24V Battery Setup
Proper Charging Methods
A 24V battery bank requires charging equipment designed for 24V systems. Using an incorrect charger can lead to undercharging, overcharging, or battery damage. Industry guidance notes that charging equipment should match the total battery bank voltage. Modern smart chargers simplify maintenance by automatically adjusting charging stages. These chargers monitor battery condition and optimize charging performance without requiring constant supervision.
For lithium systems, always follow manufacturer-specific recommendations. Different battery chemistries require different charging profiles and protection mechanisms.
Long-Term Maintenance Practices
Battery maintenance is much like vehicle maintenance. Small routine actions prevent larger problems later. Check connections periodically for corrosion, looseness, or damage. Clean terminals when necessary and keep batteries dry and secure.
Useful maintenance habits include:
- Inspect cables monthly.
- Check voltage regularly.
- Keep terminals clean.
- Avoid deep discharges when possible.
- Recharge promptly after use.

Callen Rhodes is a 29-year-old American content writer based in Boise, Idaho. He creates well-researched articles focused on home improvement, technology, and consumer education, combining years of professional blogging with a practical writing style that prioritizes accuracy and reader trust. As a regular contributor to electricalsystems.xyz, he produces clear, evidence-based content that helps readers make informed decisions while maintaining high editorial and EEAT standards.